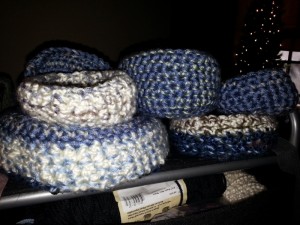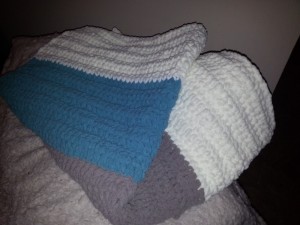
The shelter I make wildlife nest for asked if there was a way to solve an occasional problem they have. Sometimes baby bunnies are brought in and they just don’t feel safe enough in the open top nests and try to jump out. I’ve started creating these nests with a hood that offers a little more security if needed.
Notes:
- sc (single crochet) – Insert hook into stitch and draw up a loop, yo, draw through both loops on hook.
- exsc or esc (Extended single crochet) – Insert hook into stitch and draw up a loop, yo, draw through 1 loop, yo, draw through 2 remaining loops.
- sc2tog (single crochet decrease) – Insert hook into stitch and draw up a loop. Insert hook into next stitch and draw up a loop. Yarn over, draw through all 3 loops on hook.
- Use multiple strands of yarn together. Either 3 strands of worsted weight, or you can use 1 bulky strand and 1-2 worsted weight.
- Size 8mm hook (L)
- The number of strands and hook size are up to you. Just make sure the stitches are tight. We don’t want little legs and feet falling through gaps in the crochet.
- Bowl is created in a spiral, not individual rounds and joins, so if you are more comfortable using a stitch marker to know what round you are on, do it, but it’s not required.
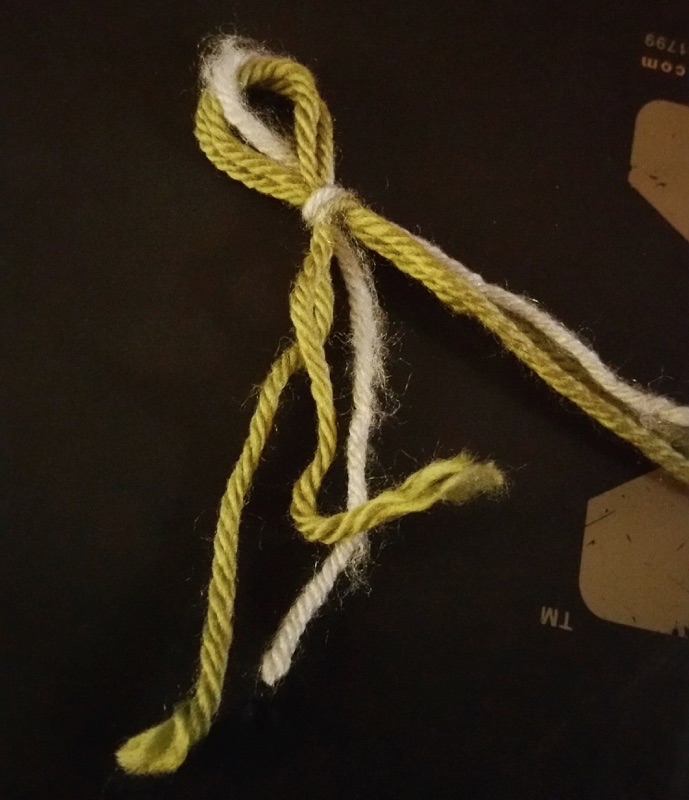
- Create a slip knot (whatever method you want, just make sure it tightens up when you pull the tail, not the working side of the yarn)
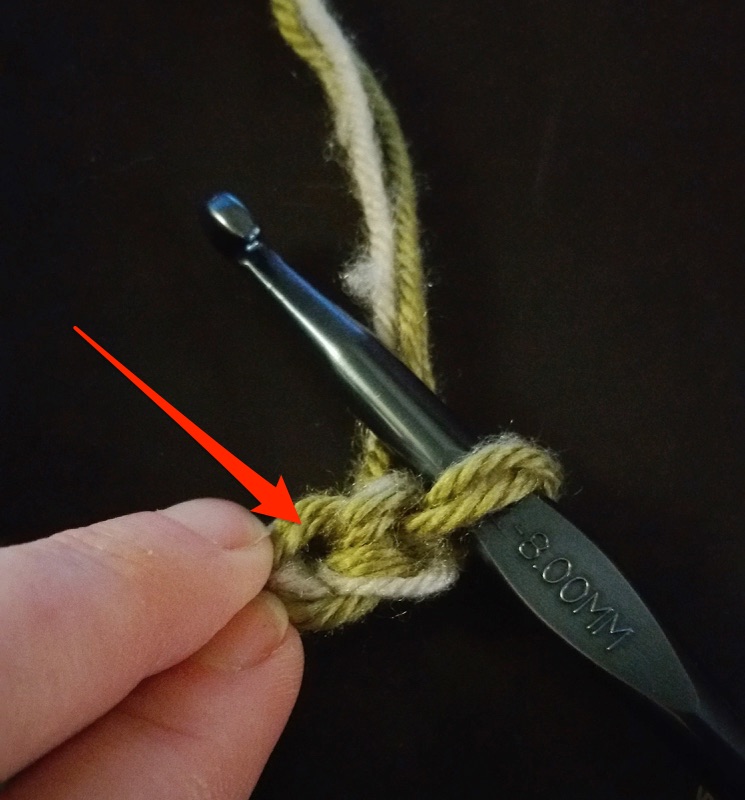
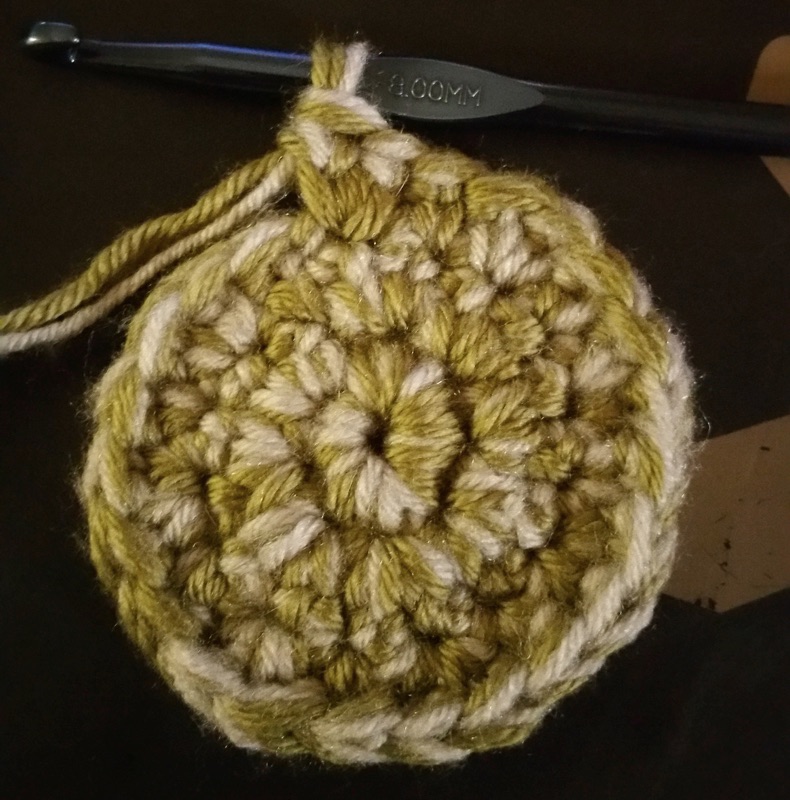
- Ch. 2, then work 7-8 SC in the slipknot. (The last SC should meet back up with the first one, making a circle. Basically, just do as many as you can fit nicely) – For me, 8 SC.
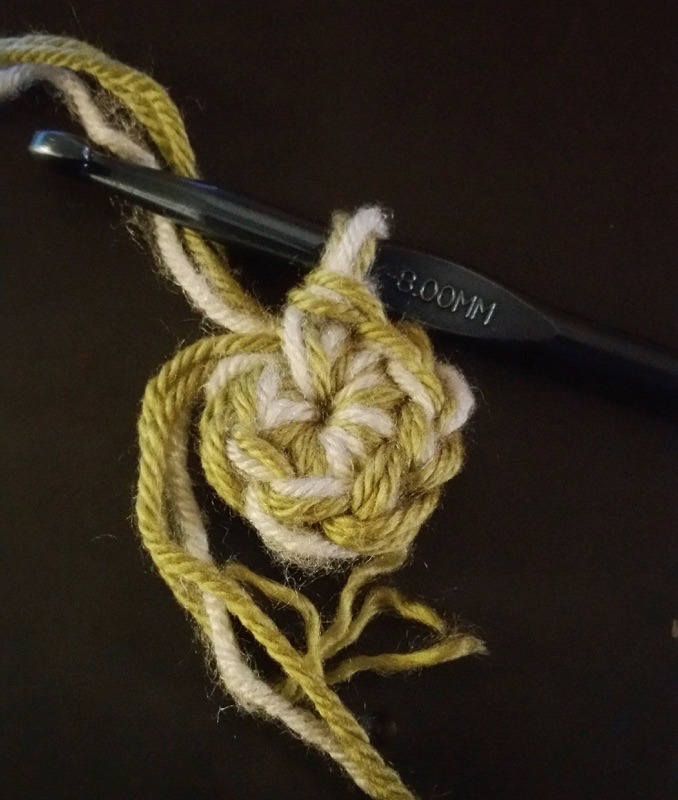
- Pull the yarn tail to tighten up the ring. You can also crochet over it in the next few stitches, or weave it in later…your call. Now do 2 ESC in each stitch, going around in a spiral. This is more intuitive than an actual count, but you want to do this for each stitch in the first round, at least. So if your 1st round had 7 stitches, you’ll have 14 in the next round…if your 1st round had 8 stitches, you’ll have 16 in the next round…get the idea? – For me, 16 ESC.
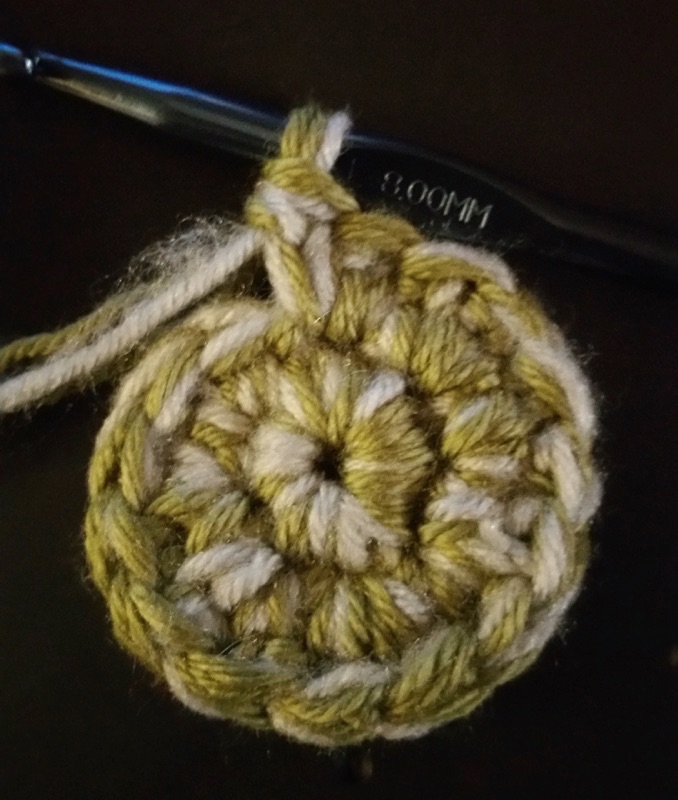
- For your next round, you’ll work (1 ESC, 2 ESC) in each stitch around. For me, 24 ESC.
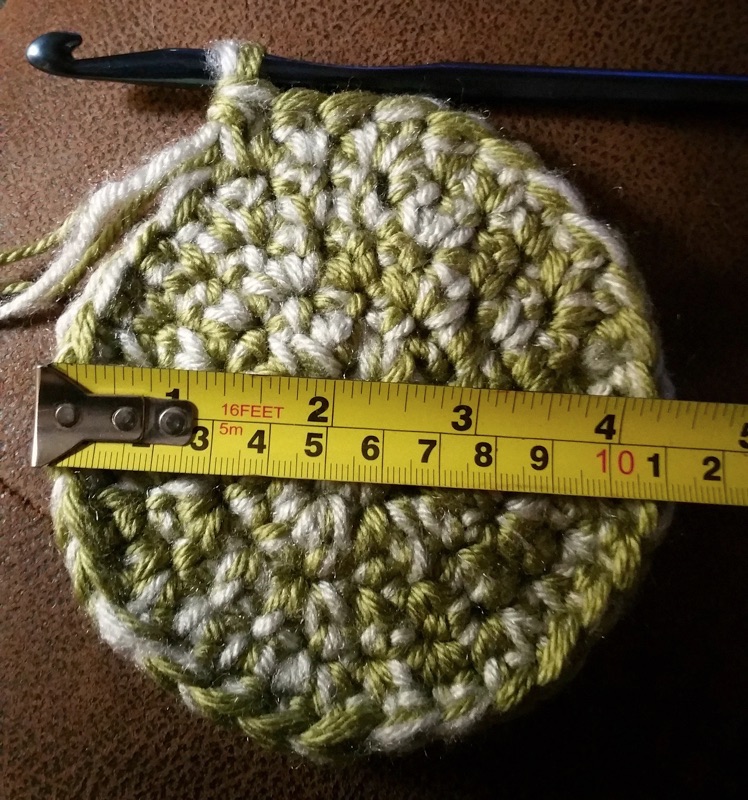
- For your next round, you’ll work (1 ESC, 1 ESC, 2 ESC) in each stitch around. For me, 32 ESC. It should be about 4″ across now (more or less). NOTE: If you want a smaller bowl, just skip to Step 6 as soon as your base is the size you want. If you want it larger, keep going adding 1 ESC for each additional round.
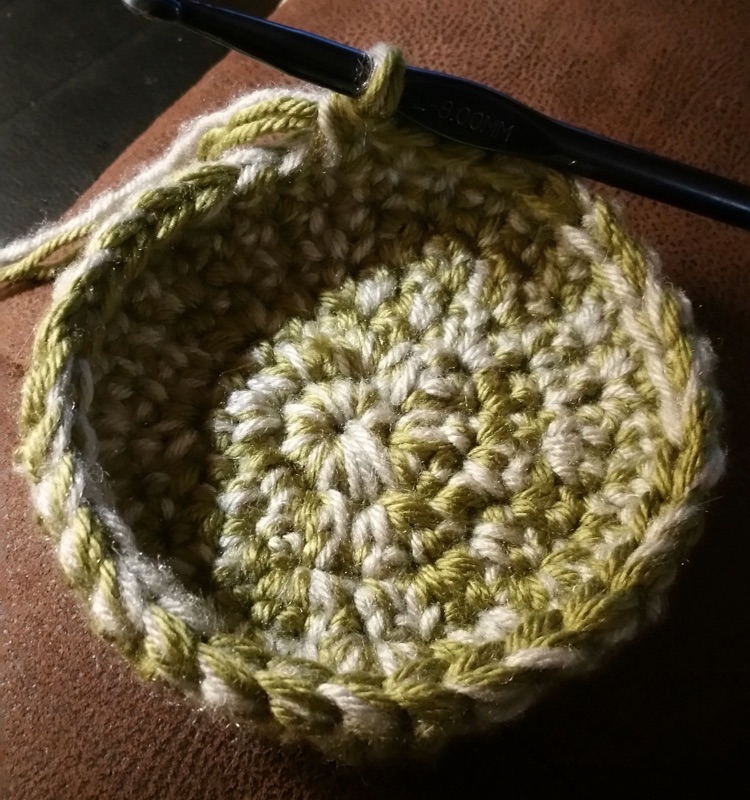
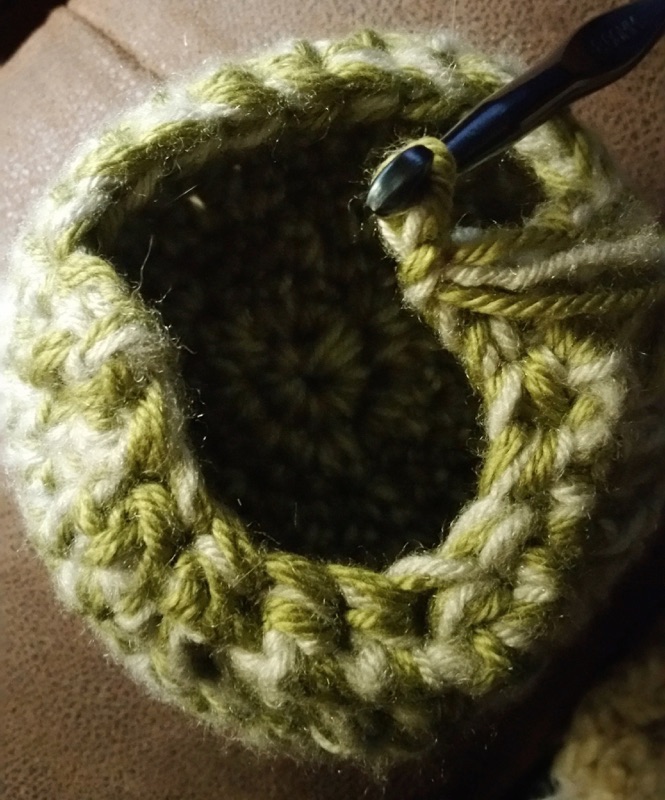
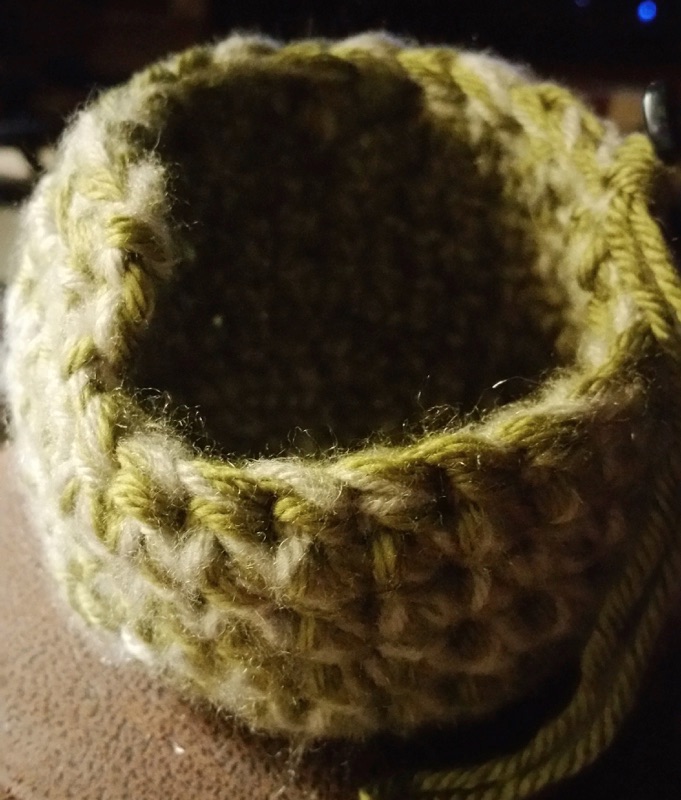
- At this point, we want to start building up the sides. This is easy. Just do 1 ESC in each stitch until it’s as tall as you want.
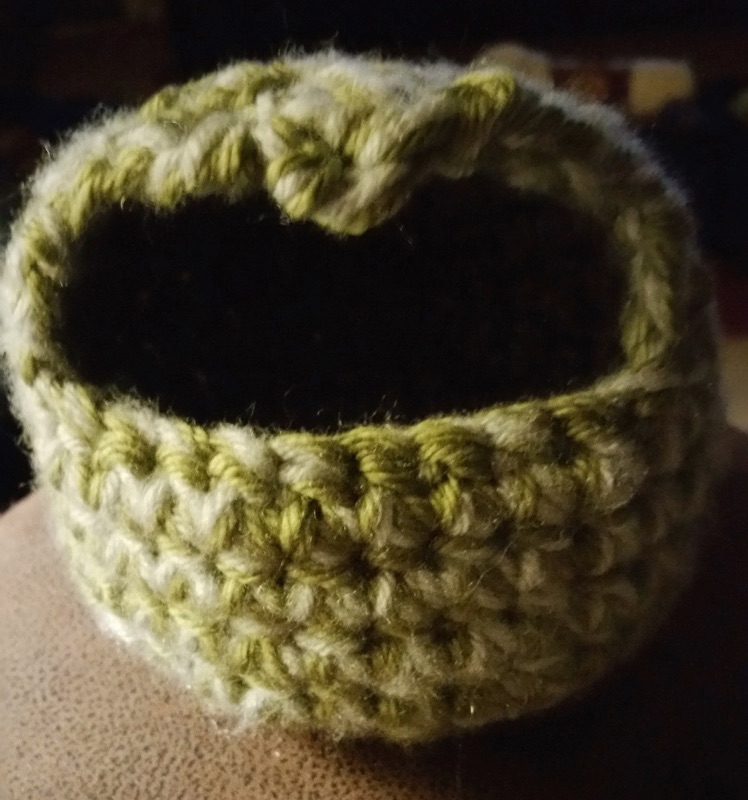
- When you are ready to create the ‘hood’, turn, then ch. 1, then repeat (1 esc, sc2tog) until you’ve gone around about 2/3 of the way.
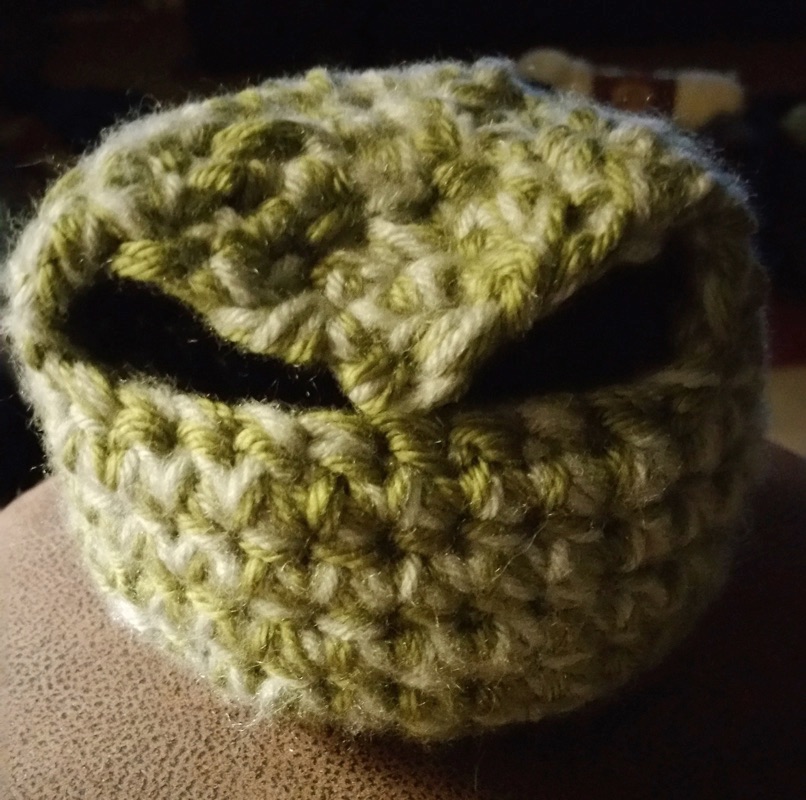
- Turn, ch. 1, repeat (1 esc, sc2tog) to the end of the previous row.
- Continue this until the hood is created. Mine always come to a point, and this is fine because the shelter staff can shape it depending on how much privacy the babies need.